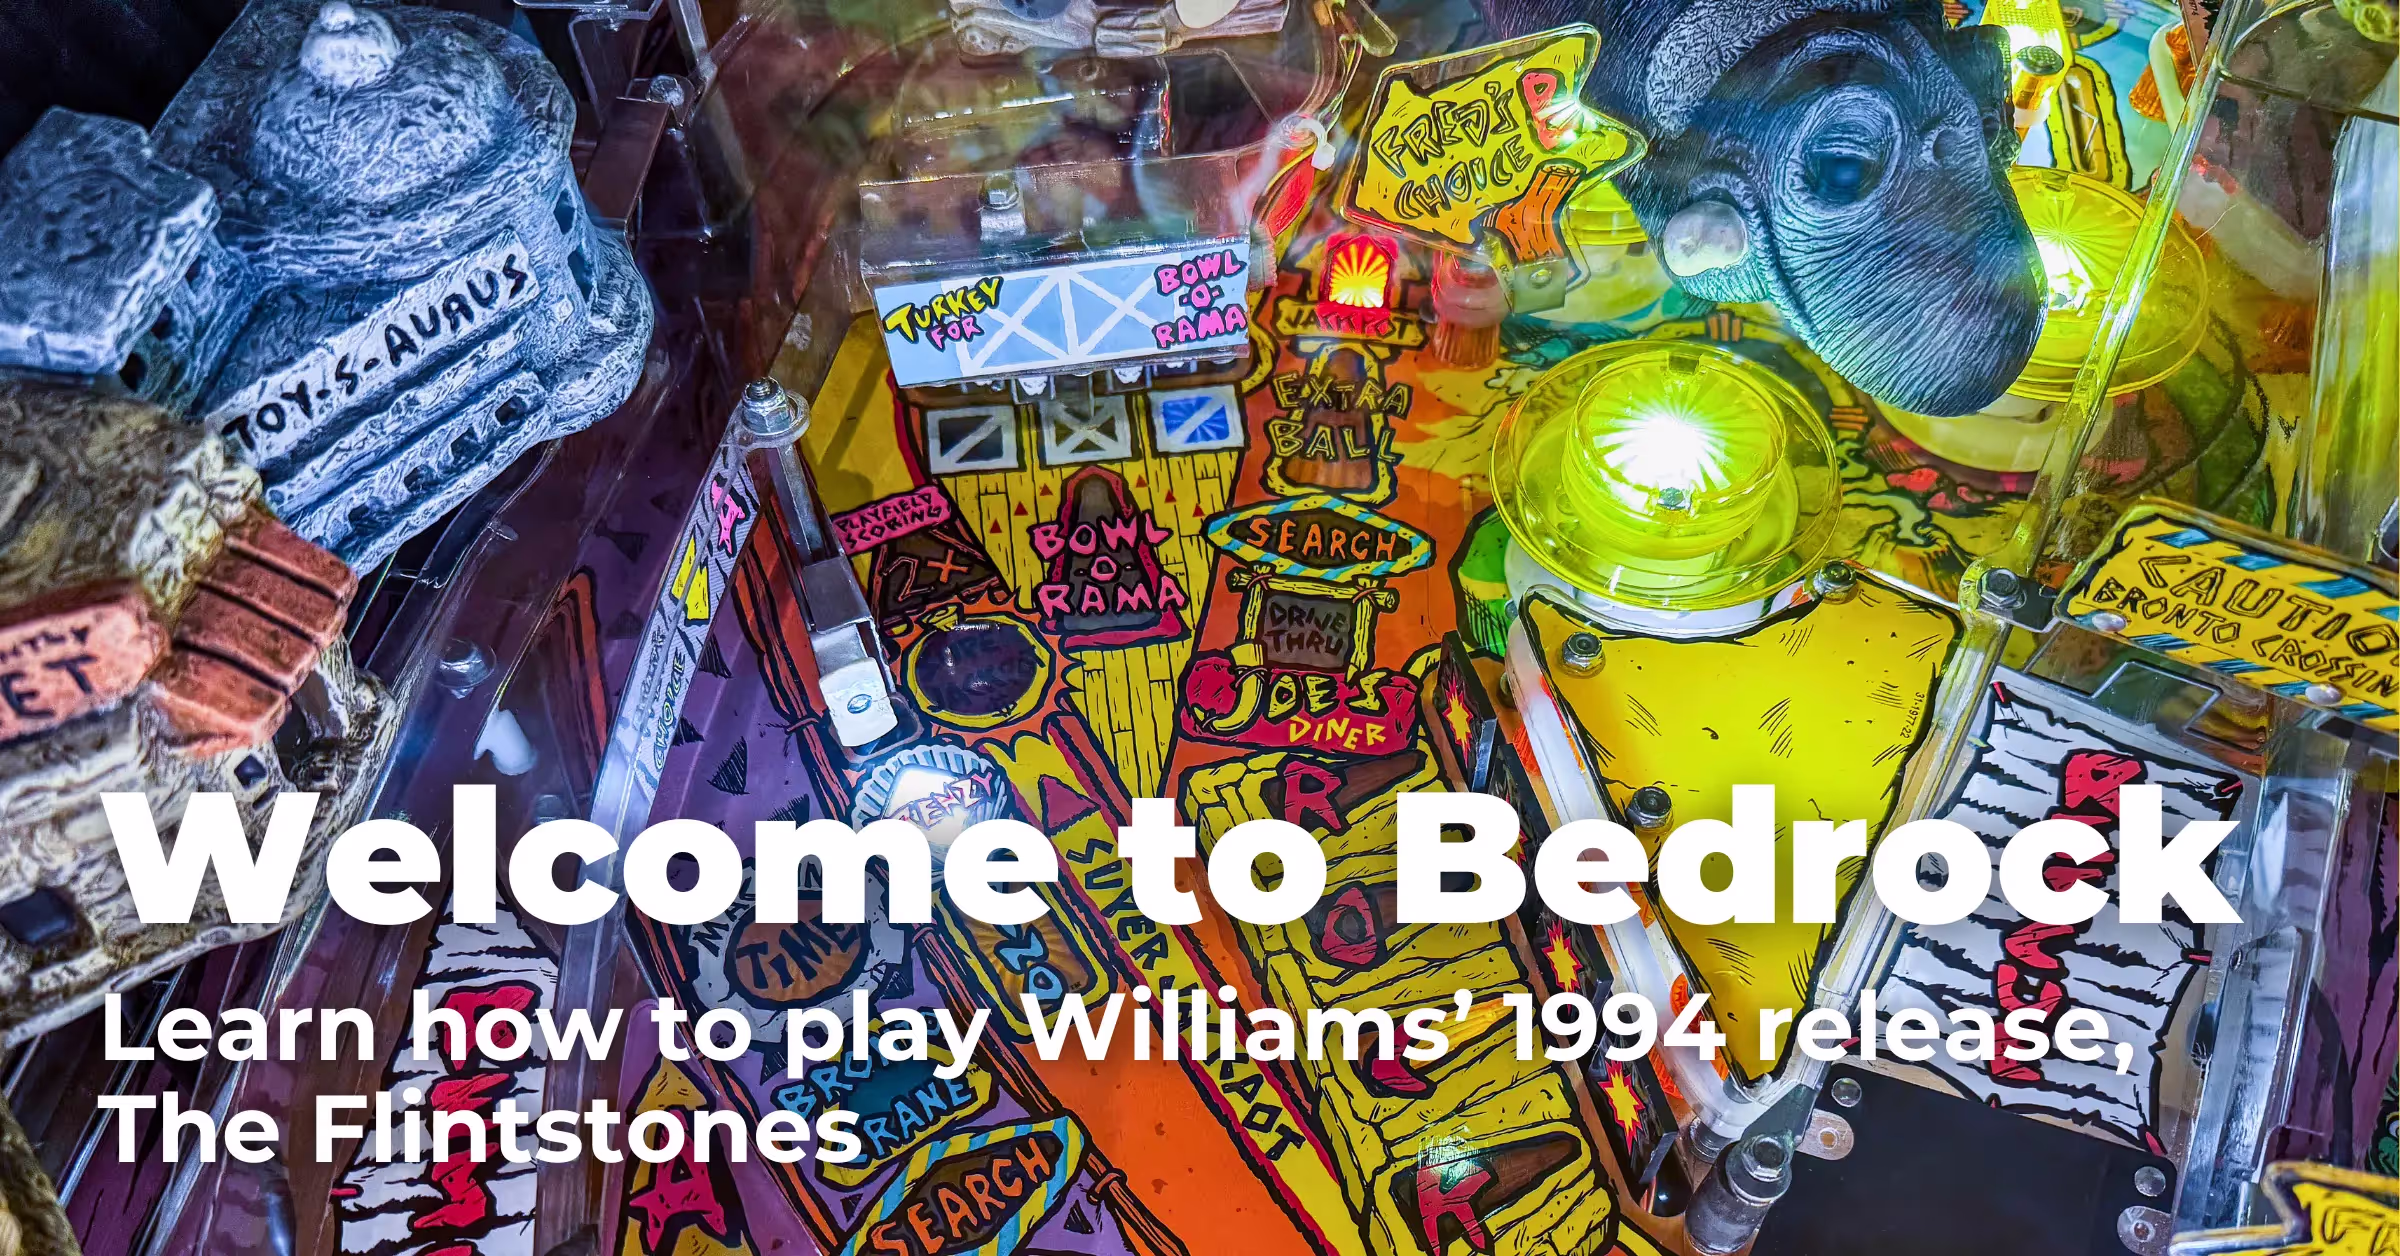
Welcome to Bedrock: Learn how to play Williams’ 1994 release, The Flintstones

1994 was the year of many summer blockbusters; some did well, some did poorly, but many got pinball machine tie-ins. I already discussed The Shadow, one of the worst blockbusters of the year but one with an amazing pinball machine, better than the movie in every single way. The Flintstones was another Williams title from 1994 designed in the same mold and brought its fair share of innovations to the field, most notably the “smart ramps” that guided ramp shots to complete the 1-2-3 combos effectively, and a 3-bank target emulating a bowling alley and scoring points accordingly.
While a relatively basic table rules-wise, The Flintstones is still a popular competitive table but is often setup to play more difficult than it would otherwise. Case in point, I’m writing this guide using a copy of the machine that uses the smaller “lightning” flippers as seen on tables like Fish Tales and Bram Stoker’s Dracula. The Flintstones was shipped with normal-sized flippers, but the lightning flippers add additional challenge to the game, encouraging knowledge of slap saves and other recovery techniques that remain effective even on machines with normal flippers.
Flintstones Pinball Key Details
The Stone Age town of Bedrock comes to life in this pinball machine loosely based on the 1994 live-action Flintstones movie.
- Manufacturer: Williams Pinball
- Year: 1994
- Design: John Trudeau
- Code: Jeff Johnson
- Mechanics: Ernie Pizarro
- Art: Kevin O’Connor
- Animation: Scott Slomiany, Eugene Geer
- Music / Sound: Dave Zabriskie
Flintstones Pinball Playfield Overview

A small standup target with a sculpt of the Dictabird above it is positioned right next to the entrance to the left ramp, which makes a U-turn and feeds either the left inlane or right inlane depending on which shot is the next to make in the 1-2-3 sequence. Both can be hit reliably from the right flipper, though the timing for the left ramp is later than you’d expect. Gating the left ramp is the first bank of drop targets dedicated to the “BED” in BEDROCK – they can be hit either from the lower flippers or from the upper flipper. Completing either drop target bank awards a CONCRETE letter, with multiball lit upon completing the word.

Besides the BED drop targets, there are three shots designed to be hit from the upper flipper. The lowest down the playfield is the upper loop, which either sends the ball back around to the upper flipper or diverts the ball into the Bronto crane to score an award and release the ball into the bumpers. Multiball can also be started here, in which case the ball will be diverted to the rock slicer. Above the upper loop is one of three Dino standup targets, and above that target is the toughest shot in the game in the U-turn loop. Though it can be hit from the upper flipper, your best bet for nailing the U-turn loop is as a rebound from the ROCK drop targets and is downright required to make this way for super jackpots during concrete multiball.

The Bowl-O-Rama is represented by a bank of three standup targets, positioned similarly to the Neutral Zone in Star Trek: The Next Generation. Completing the targets normally advances towards bowling power-up, guaranteeing a strike for the next “go bowling” ramp shot and shots to the target bank can be quite deadly, sometimes requiring a slap save to recover from. Directly above the bowling targets is the rock slicer, a spinning disc paired with two posts that is used during “machine time” and during concrete multiball to increase the jackpot value and can be accessed through either orbit shot.
The center lane isn’t too big of a surprise, especially coming after Trudeau’s similar center lane placement on Creature from the Black Lagoon but is far tougher than that shot was due to the lack of guiding plastics to help with the shot. Regardless, the center lane is important to master as it scores the jackpot during concrete multiball and counts down towards & awards extra ball. The center lane normally feeds the bumpers, which generally don’t do much but can be lit for DIG millions (super jets) with enough center lane hits. The top lanes spell DIG, which increases the bonus multiplier up to 10x and spot a CONCRETE letter if the player hasn’t played multiball yet.
The ROCK drop targets (in “BEDROCK”) gate the pop bumpers and can be hit reliably from either lower flipper, awarding a CONCRETE letter just like the BED drop targets do. Near the second drop target bank is the right ramp, which feeds the right inlane by default but can also feed the left inlane depending on the next 1-2-3 shot, and the right orbit, which serves as another way to access the DIG lanes or start multiball when lit.

Scattered throughout the playfield are three standup targets used to increase the jackpot value during Dino Frenzy and score said jackpot during the mode – only one is lit at a time to increase the value. At the very far left and right are three standup targets that light “drain save” for a short time once completed, allowing any ball that drains down the outlane during that time to return to play. Many sculpts of the buildings throughout Bedrock are also scattered across the ramp exits to contribute to the game’s “world under glass” aesthetic.
Scoring on The Flintstones is lower than average for its era, with the best scores averaging above 1 billion. Well-played modes usually average around 50M, and side modes average 30M. Therefore, multiball is the way to go if you want to obtain a standout score on this machine.
Getting Started with The Flintstones

- 1-2-3 starts the currently flashing mode. 20M is awarded for comboing the three lit ramp shots with no misses and the smart ramp will help in making this combo successfully. The lit mode changes with bumper hits and cannot be "locked" like on other games from this era.
- Shoot the upper loop once to light the Bronto crane and again to collect an award from it. The awards are generally given in the same order and some late-game awards can be especially valuable.
- The left standup target awards the current flashing feature: machine time (lights orbits to feed the rock slicer for increasing points), job change (right orbit lit for 20M), help (kids are hidden at a random “search” shot, then hit both ramps to rescue them for 30M).
- Make skill shots by plunging the flashing lane, or complete DIG, BED, or ROCK to collect CONCRETE letters. Once completed, multiball can be started at either the upper loop or right orbit. During multiball, the center lane is the jackpot and lights the U-turn loop for super jackpot. Increase the jackpot by sending balls back into the rock slicer at either orbit. After the first multiball only BED or ROCK will add letters to CONCRETE.
- Whichever ramp isn’t lit for 1-2-3 will send the ball to the right flipper for a bowling target shot. Nail three strikes in a row by hitting the center target to start Bowl-O-Rama multiball with those targets lit for jackpots. To guarantee strikes, complete the bowling targets three times during normal play to earn bowling power-ups.
Flintstones Skill Shot

The Flintstones’ skill shot is standard but helpful all the same. Change the flashing DIG lane so the ball falls through the flashing one. The skill shot scores 5M + 2M per skill shot and spots a CONCRETE letter when made.
Of course, after making the skill shot, you need to consider what your priorities for scoring should be. If the bumpers happen to feed the upper flipper, go for the upper loop for Bronto crane, but otherwise, start aiming for the left and right ramps to advance 1-2-3 and start modes.
Flintstones Modes

Starting modes is literally as easy as 1-2-3. One ramp will always be lit to advance the 1-2-3 sequence (and the other ramp will be lit for go bowling). To help with completing the sequence successfully, the diverters will allow balls to access a “smart ramp” behind the flippers that sets up the next ramp shot. Each shot scores 2M, 4M, and 6M, with a 20M combo bonus awarded for nailing all three ramp shots in a row with no misses. “1-2-3 values doubled” from the Bronto crane doubles these values, allowing you to earn 40M from 3-way combos!
The four modes vary in utility and scoring but are regardless listed from top to bottom with my thoughts on each mode and whether you should focus on them:
- Fred's Choice: Test-taking has never been so much fun! Three shots are lit: the upper loop (“A”), the center lane (“B”), and the right orbit (“C”). The scoring for each shot is dependent on its difficulty with “A” having the highest initial value (20M) and “B” having the lowest (10M) but each shot increases by 3M with each shot made to it. Great mode, especially if you can reliably hit the right orbit or upper loop.
- Joe's Diner: The “move your car” guy from Creature from the Black Lagoon makes his return and this time he’s starving mad. The center lane is lit to score 15M on a hurry-up timer, this value is locked in & scored with the first shot and collected again with the following two shots. The audio here is great, but if you’re not good at hitting the center lane consistently, go for 1-2-3 to start the next mode instead.
- Bedrock Water Buffalos: Akin to “bad impersonator” from Judge Dredd this mode is similarly ignorable. The BED or ROCK targets are lit to score 5M and throw junk at either the polka band or juggler (for the 2nd round of modes) on stage. Low scoring compared to many other modes and prevents you from making progress on CONCRETE at the drop targets. Just go for 1-2-3 here instead of playing it out.
- Dino's Frenzy: 2-ball multiball and the best of the four modes. All Dino standup targets (two near the ramps, one near the upper loop) score jackpots starting at 10M – before starting the mode the lit Dino target increases this value by 1M. All the while you can make progress towards & start Concrete or Bowl-O-Rama multiballs and score Bronto crane awards. Use this multiball to your advantage!
After playing all four modes, the fifth mode will be mystery mode. The time through the modes, all BEDROCK targets will be lit, 5M per target hit and 100M is awarded for knocking them all down. The 2nd time is similar, but instead requires the 1-2-3 sequence to be completed at the ramps for the 100M award. Both mystery modes, especially the second one, are worth playing out despite the high risk.
Bronto Crane

Shoot the upper loop to light the Bronto crane, and then shoot it again to divert the ball there and score an award. You can collect these awards at any time during single-ball play or during Dino Frenzy.
Awards from Bronto Crane are scored in the following order, generally:
- Bedrock Derby: Shoot the bumpers to win the race for 30M, this requires about 10 hits in 30 seconds but the score isn't given until the timer expires. If the player loses then 10M is scored in its place.
- 1-2-3 Values Doubled: Increases 1-2-3 sequence scoring to 4M, 8M, and 12M, with 40M awarded for the 3-way ramp combo. This lasts the rest of the ball.
- Bowling Power-Up: The next “go bowling” shots will always award a strike, until the player starts Bowl-O-Rama multiball after getting three strikes in a row. Bowling power-ups can be banked and used over the course of the game. You can also earn them by completing YABBA-DABBA-DOO with three completions of the bowling targets.
- 2x Playfield Lit: U-turn loop is lit to start 20 seconds of 2x playfield. This award is way worse than it seems, as the 2x playfield instantly stops if the player starts another mode while it is running, so 2x playfield effectively only applies to scoring from ramp shots, strikes / spares, the million plus award from the U-turn, 5M for completing BED or ROCK when CONCRETE is complete, or the 10M from the top lanes when bonus X is maxed. If 2x playfield is started during a mode, it will automatically end with no compensation.
- Multiplier Maxed: Maxes the bonus multiplier at 10x bonus. Subsequent completions of the DIG lanes this ball will score 10M (or "teeeeen million" as exclaimed by Rick Moranis).
- Big Points: If both above awards have been scored and 2x playfield is still lit, then 20M will be scored in their place (ironically in a very small font). This award then alternates with bowling power-up.
There are two awards given at random spots in the sequence, based on percentaging. CONCRETE Complete completes CONCRETE and lights multiball, and Extra Ball / Lite Extra Ball awards or lights an extra ball at the center lane respectively. These two awards don’t take the place of any other listed award.
Dictabird

Hitting the left standup target during single-ball play or Dino's Frenzy starts the currently flashing mode or feature. These features can all run at the same time and be played alongside the modes from completing 1-2-3 at the ramps, and are given in the following order:
- Machine Time: For 20 seconds, the upper loop and right orbit are lit to send balls into the rock slicer and score points based on the number of targets hit by the ball. The value starts at 10M and each subsequent shot starts out at the value that was last scored. If Machine Time is started during a multiball, then all scoring in the rock slicer is multiplied by the number of balls that are currently into it, up to 3x for all three. This can result in massive scores from well-played machine time stacks.
- Job Change: A simple 25M award & neat animation is lit at the right orbit. This rule might have been intended to be more than it was, but is incomplete on the most recently released code.
- Help: Very tough 20-second mode. Upper loop, center lane, and right orbit search for the kids (5M per search, 15M for finding them). Then hit either to rescue them (15M). This mode's timer stops for nothing and the risk of the shots aren't worth the effort.
Concrete Multiball

CONCRETE letters are scored in many ways across the game. For the first multiball of a game, two are spotted through BED or ROCK drop target completions, and one is spotted by making skill shots or completing DIG. After the first multiball, DIG will no longer collect CONCRETE letters and only one letter is scored per drop target bank completion. Once CONCRETE is complete, shoot the right orbit or upper loop to feed the rock slicer and start multiball.
The jackpot sequence during multiball seems simple but is very difficult to properly execute. The first jackpot is scored at the center lane, and the super jackpot (3x jackpot) is scored at the U-turn loop. All of this multiball’s difficulty comes from getting control of the balls, and finding the best way to handle shooting the U-turn loop. Jackpot starts at 40M and increases with every rock slicer spin.
Instead of shooting the center lane on the fly, cradle up and then make an early flip at the center lane from either lower flipper. Then, for the super jackpot, shoot the ROCK targets from the left flipper and hope for a rebound into the U-turn loop. This might seem counterintuitive but is the most reliable way I’ve found to hit the U-turn loop during multiball, especially with the center lane sending balls flying past the upper flipper. The diagram below should explain this.

If all else fails, you can restart the multiball by hitting either orbit within 15 seconds…
Bowl-O-Rama Multiball

Whichever ramp isn’t lit to advance the 1-2-3 sequence will send the ball to the right flipper for a bowling target shot. From here, you want to hit the bowling targets dead center to score a strike. Collecting 3 strikes in a row starts a 3-ball Bowl-O-Rama multiball where every spare scores 10M, and every strike scores 15M. The three targets must be hit once each to light all three of the jackpots again.
If you want to guarantee a strike prior to hitting the targets, completing the bowling targets three times *outside* of a go bowling shot will award a bowling power-up that guarantees a strike on the next bowling shots until Bowl-O-Rama multiball is started. You can also earn these from the Bronto Crane.
Bowl-O-Rama is not worth the risk scoring-wise. Though scoring those strikes is satisfying, recovery from the bowling targets can be iffy, to say the least, occasionally requiring slap saves to recover from. It might be a better bet to ignore "go bowling" ramps entirely, instead using these these diverted ramp shots to ski pass over to the other flipper and keep the 1-2-3 combo going.
Noah's Strategies

- 1-2-3 ramps will be your key to victory on The Flintstones in a competitive setting. Not every mode is worth playing, but Fred’s Choice and especially Dino Frenzy can result in high scoring and, in the case of Dino Frenzy, the opportunity to make risky shots without risking a drain. 3-way combos can also be worth going for, especially if the 1-2-3 values have been doubled from Bronto crane.
- As for Bronto crane, get bedrock derby out of the way first, then start making a conscious effort to get 1-2-3 values doubled at the start of every ball. Though it might seem minor these points can be the difference between scores on this linear scoring machine.
- Concrete multiball is easy to reach, especially if you’ve made it a goal to complete DIG as often as possible early on, but the multiball itself can be incredibly difficult if the center lane is evading you. Remember to cradle up instead of taking potshots at the center lane on the fly, and to rebound off the ROCK targets into the U-turn lane instead of shooting it directly from the upper flipper.
Like what you're reading?
Get pinball news, analysis, and deep dives delivered to your inbox.